Visual content is 40X more likely to get shared on social media compared to other types of content. Thanks to smartphones, you don’t need a degree in Photography or Film to create stunning shots in-house. Here’s our quick guide to framing the perfect shot.
The all-important rule of thirds
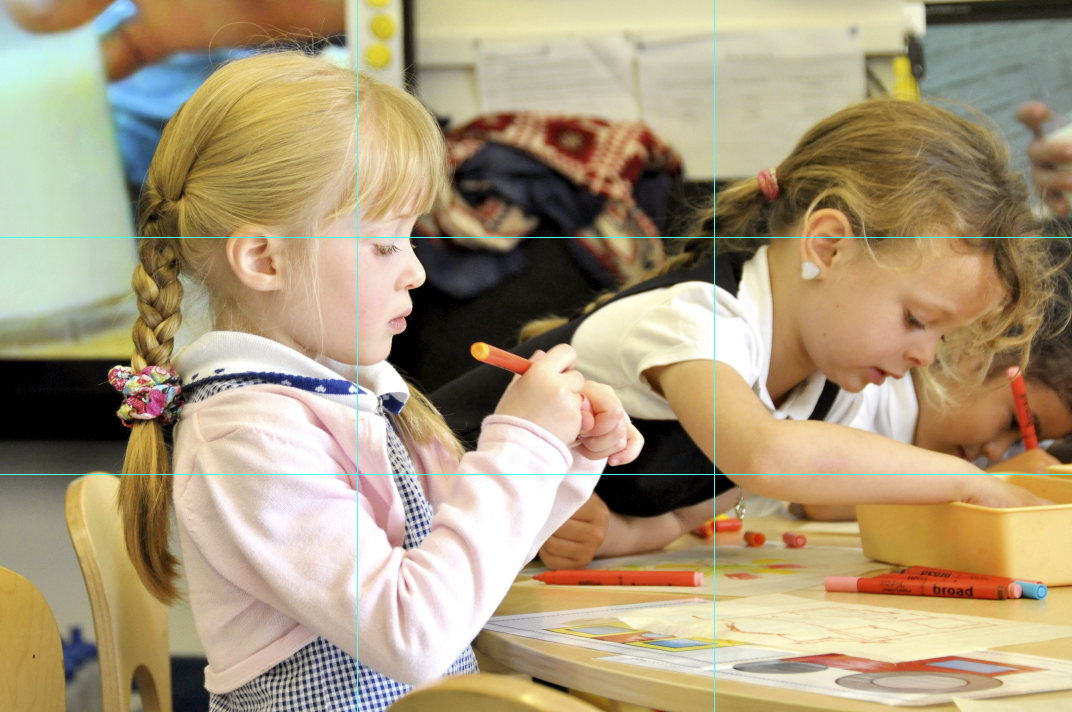
One of the essential rules in photography, ‘the rule of thirds’ allows you to create shots that appeal to the human eye. This is because the rule follows the eye’s natural flow, making the photo or video feel more harmonious. When you’re framing a shot, imagine it broken down into thirds – two lines cutting across horizontally and two lines slicing the image vertically. You should end up with nine squares and four intersection points (where the vertical and horizontal lines cross over). Whenever we look at an image, our eyes naturally tend to focus on the four intersection points. You should therefore place the interest points of your image in these intersections. You should also strive to position the elements of your shot along the vertical and horizontal lines to make the experience more harmonious for the viewer.

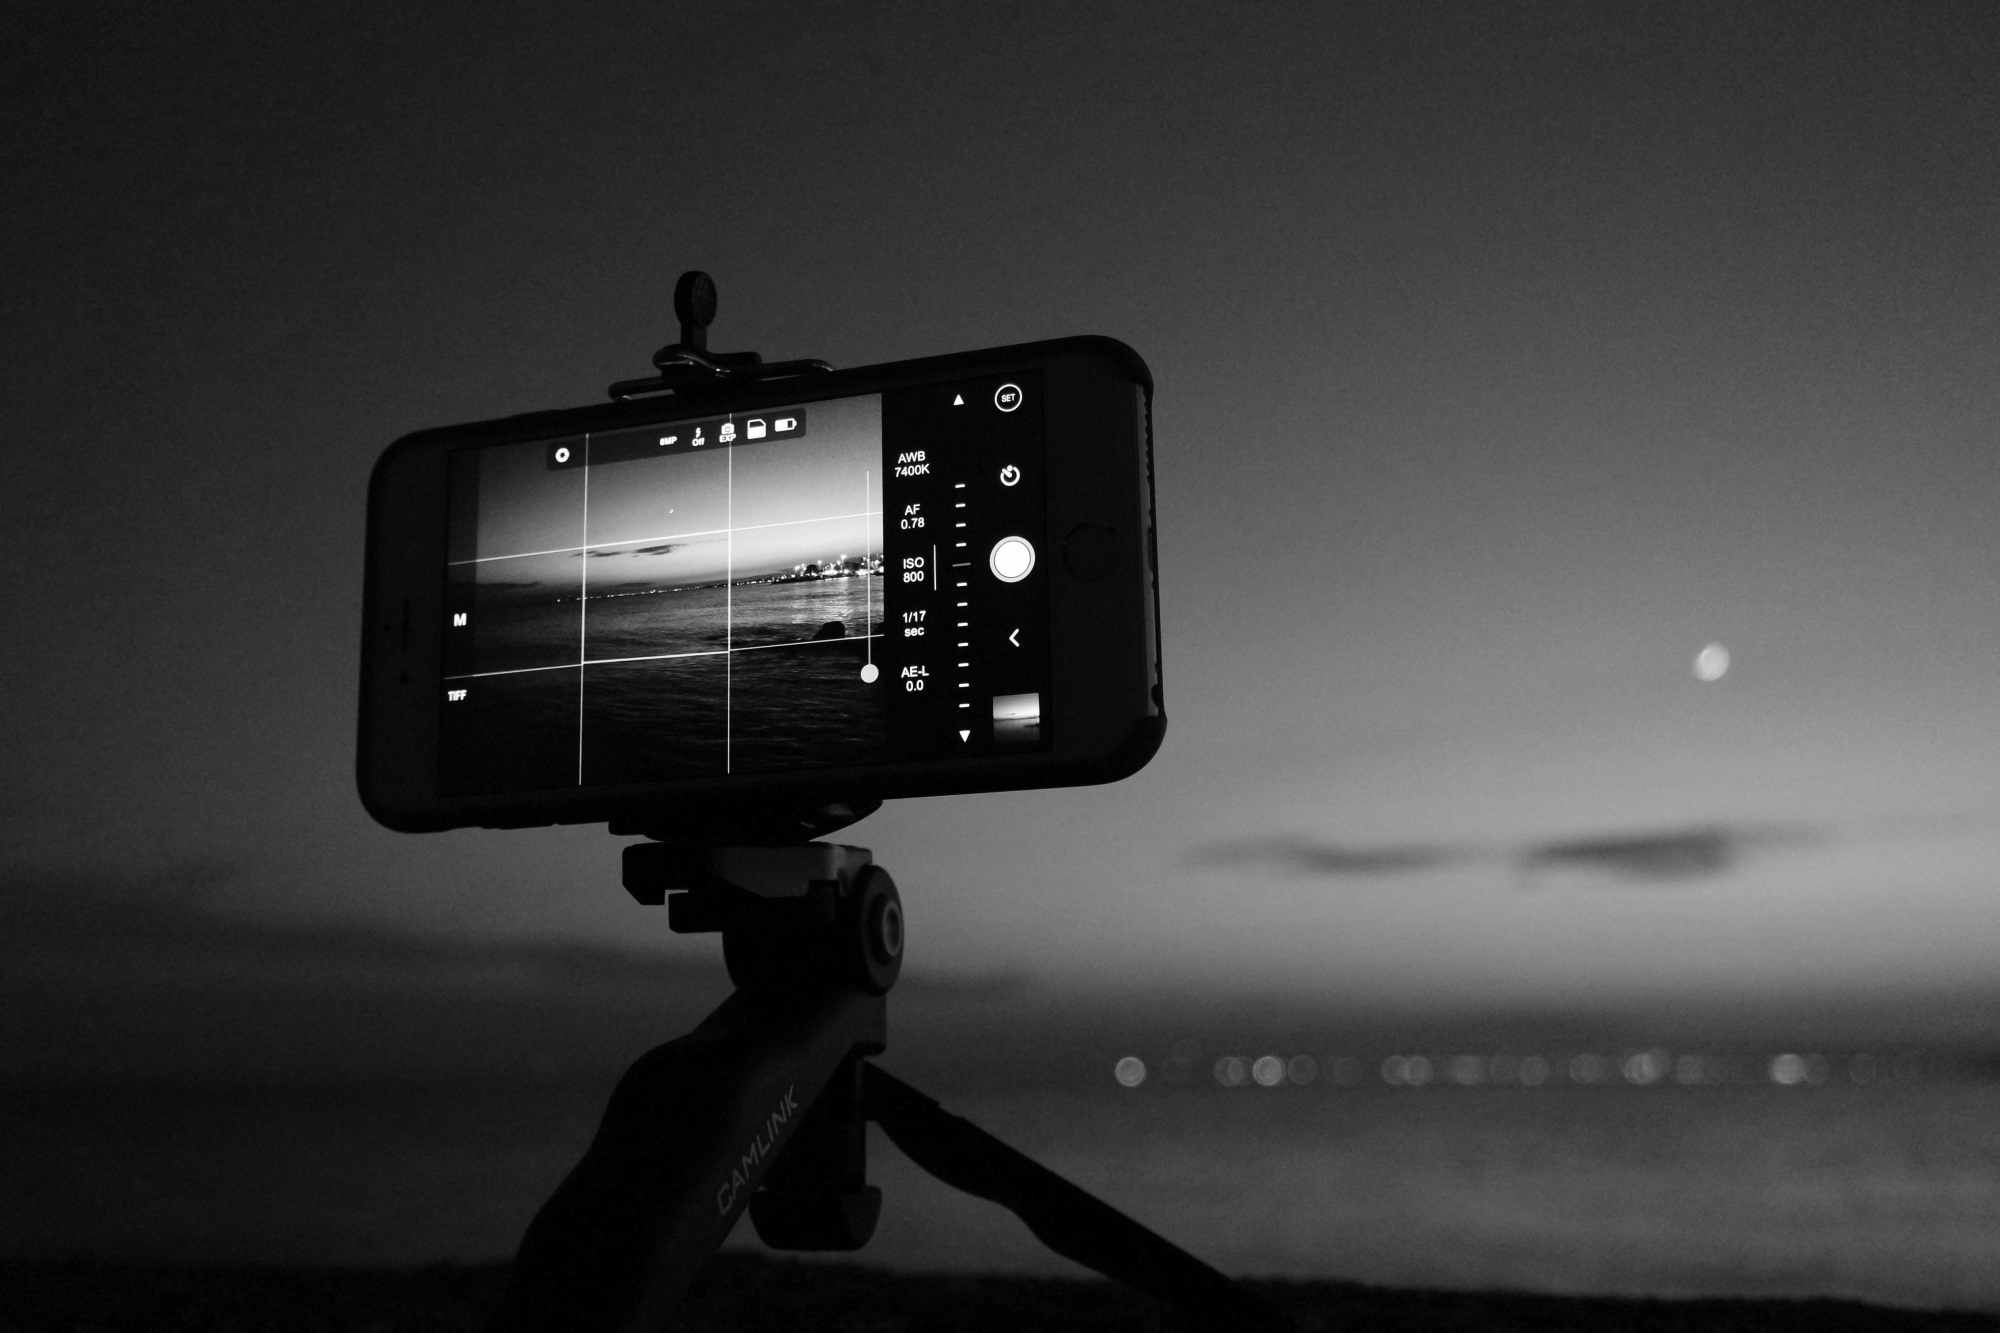
Most smartphones have a setting that lets you set up a grid, so you can observe this rule more easily. If yours doesn’t, then check out Camera+ or choose from the range of photo apps available.
Leave some space for the energy with ‘lead room’
Typically, when we look at a photo or a video, we expect to see the subject of the shot…and a bit more. If someone is walking, driving or running in your photo or video, you want to show where they’re heading towards, or their progress will seem impeded. Lead room (sometimes also called the ‘nose room’) is the blank space that you need to leave in front of moving people or objects, to create the feeling of movement.

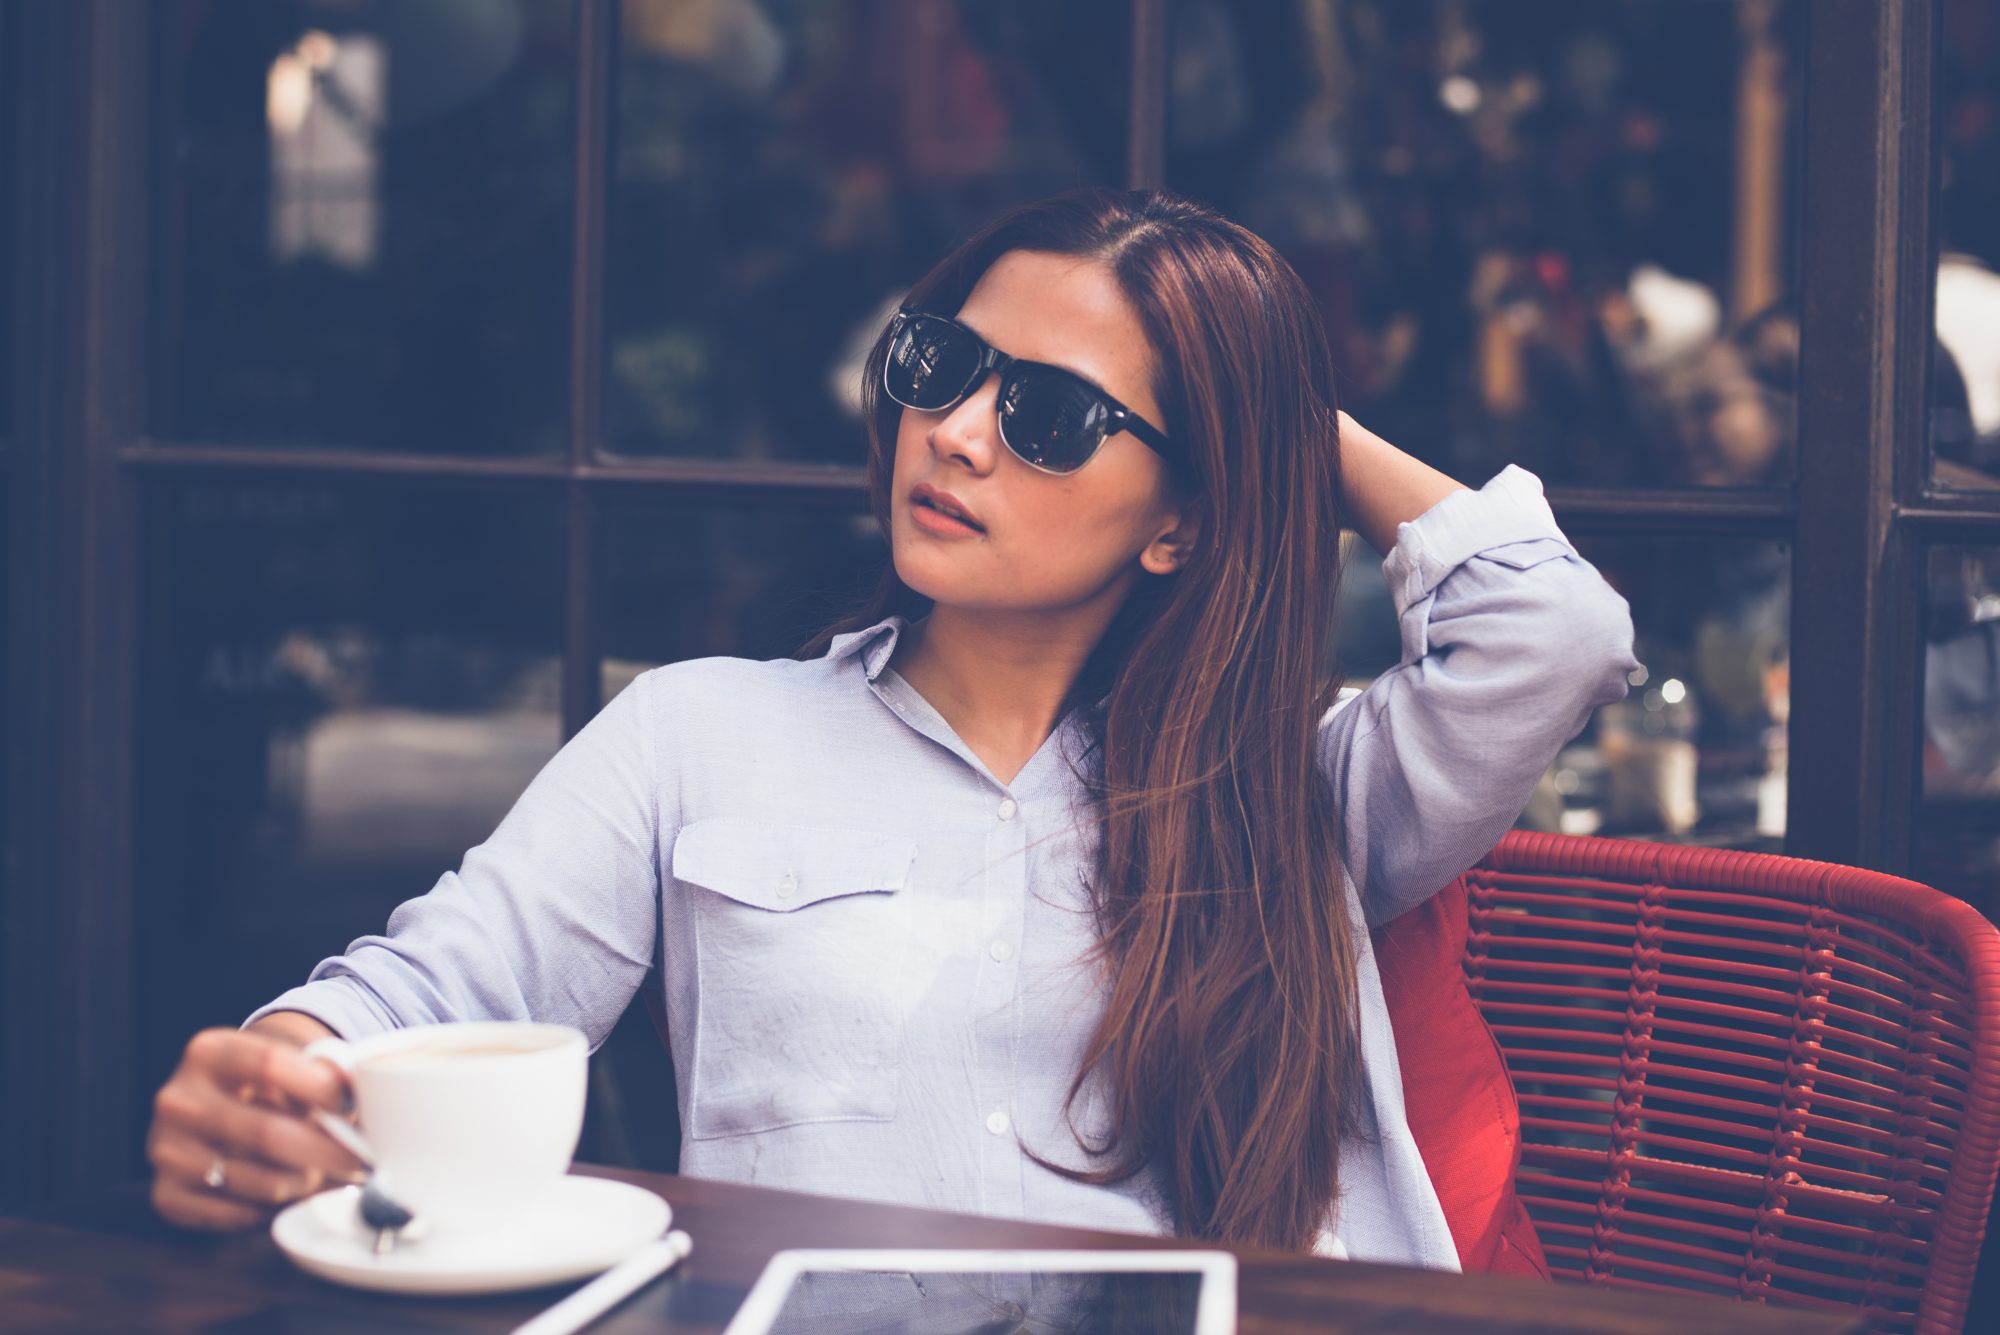
It’s also the space that shows the direction of someone’s gaze. For example, if you’re taking a portrait shot of a person who is looking to their left, you should leave some space on the left for the ‘energy’ that their gaze is creating.

Experiment with different camera angles
When shooting a video, it’s best to use different camera angles to capture the scene. This will help you to create a fabulous montage later. Before you start to shoot, make sure that you have several cameras set up to record the scene from different angles simultaneously. This will make your video look more dynamic to watch. Check out a recent video that we made for our clients Maddox Gallery in Mayfair, London (from Cre8ion Studios on Vimeo).
It’s a short interview, mainly for the purposes of social media, with the talented artist Simafra discussing his latest work. Although the video is only a minute long, we’ve used a variety of shots and angles to create unique ways to tell the story – you can do the same with yours! For some inspiration, these are the shots and angles that we used in this video:
00:06. The wide shot of James, the owner of the gallery and Simafra is moving to make the create a more dynamic atmosphere and induce the video with some energy!
00:20. We cut to a close up of a section of the painting to show some more detail.
00:42. We cut to a low angle close up here. Using a different angle to show a close up is a great way to create a variety in shot types.
We hope that this post has inspired you to take some photos and videos for yourself. But if you’re looking to induce your brand with some stunning photography or invest in a new company video, then contact us today for a free chat.

